How to Grow Tomatoes From Seed to Harvest: A Comprehensive Guide
Imagine biting into a juicy, sun-ripened tomato plucked fresh from your garden. The flavor bursts in your mouth, far surpassing anything you could find at the grocery store. Sounds tempting, right? Growing tomatoes from seed to harvest is a rewarding journey that many gardeners embark on every year. But where do you start, and how do you ensure a bountiful yield? Let’s delve into the process of cultivating these beloved vegetables from scratch.
Tomatoes are not just a popular choice for home gardens; they are also a fantastic way to connect with nature. The satisfaction of nurturing a tiny seed into a fruit-bearing plant is unparalleled. However, many novice gardeners often underestimate the nuances involved in this process. From selecting the right seeds to understanding the ideal growing conditions, each step plays a crucial role in your tomato-growing adventure. So grab your gardening gloves and let’s dig into the essentials!
Choosing the Right Tomato Variety
The first step in your tomato-growing journey is selecting the right variety. There are essentially two types of tomatoes: determinate and indeterminate. Determinate varieties grow to a specific height and produce fruit all at once, which is perfect for canning. On the other hand, indeterminate varieties keep growing and producing throughout the season, allowing for a continuous harvest. Think about what fits your lifestyle better. Are you looking to preserve your harvest or enjoy fresh tomatoes throughout the summer?
For instance, if you have a small patio garden, consider growing determinate varieties such as ‘Patio Princess.’ These plants require less space and are ideal for container gardening. On the contrary, if you’re eager for a steady supply of tomatoes for salads, sauces, and sandwiches, indeterminate varieties like ‘Brandywine’ or ‘Cherokee Purple’ are excellent choices. Knowing what you want to achieve with your tomatoes will guide your selection process.
Starting Seeds Indoors
Once you’ve selected your varieties, it’s time to start the seeds indoors. Ideally, you’ll want to begin this process 6 to 8 weeks before the last expected frost date in your area. Use seed trays or small pots filled with a seed-starting mix. Make sure to water the soil thoroughly before planting your seeds. Each seed should be planted about 1/4 inch deep; you can place two seeds per pot for a better chance of germination.
Here’s the thing: light is crucial! If you don’t have a sunny window, consider investing in grow lights. Position them about 2-4 inches above the seedlings and keep them on for 12-16 hours a day. Also, keep an eye on the soil moisture; it should be damp but never soggy. After about a week or two, you should see little green shoots emerging, signaling the beginning of your tomato journey!
Transplanting to Larger Pots
When your seedlings have grown at least two sets of true leaves, it’s time to transplant them into larger pots. This process is essential because it gives the roots room to grow. Gently remove the seedlings from their initial containers, taking care not to damage their delicate roots. Plant them deep into the new pots, burying the stem up to the first set of leaves. This will encourage a stronger root system, which is vital for healthy plants.
Consider this: have you ever heard of “hardening off” your plants? It’s a crucial step that many people overlook. About a week before you plan to move your tomatoes outside, start acclimating them to outdoor conditions. Place them outside for a few hours each day, gradually increasing their exposure to sunlight and wind. This will help ease the transition and reduce transplant shock.
Planting Outdoors
After the danger of frost has passed, you can finally plant your tomatoes outdoors. Choose a location in your garden that receives at least 6-8 hours of full sunlight each day. Prepare the soil by mixing in compost or well-rotted manure to ensure it’s nutrient-rich. Dig holes about 18-24 inches apart, depending on the variety, and plant your seedlings deeply, just as you did in the larger pots.
At this stage, staking or caging your plants is also crucial. Tomatoes can become quite top-heavy when they’re bearing fruit, and without support, they can break or become diseased. Using stakes or cages early on not only saves you the hassle later but also promotes air circulation around the plants, reducing the risk of disease.
Watering and Fertilizing
Watering is a critical aspect of growing tomatoes. They thrive on consistent moisture but dislike sitting in waterlogged soil. A good rule of thumb is to water deeply once a week, allowing the top inch of the soil to dry out between watering sessions. This encourages deep root growth, which will help the plant access moisture and nutrients more effectively.
When it comes to fertilizing, a balanced fertilizer is your best friend. Many gardeners prefer using organic options, such as fish emulsion or compost tea, during the early growth stages. Once the plants begin to flower, switch to a low-nitrogen fertilizer to promote fruit development. Understanding the nutritional needs of your tomatoes will significantly affect your yield. Don’t forget to keep an eye on any signs of nutrient deficiencies, like yellowing leaves, which may indicate the need for additional food!
Harvesting Your Tomatoes
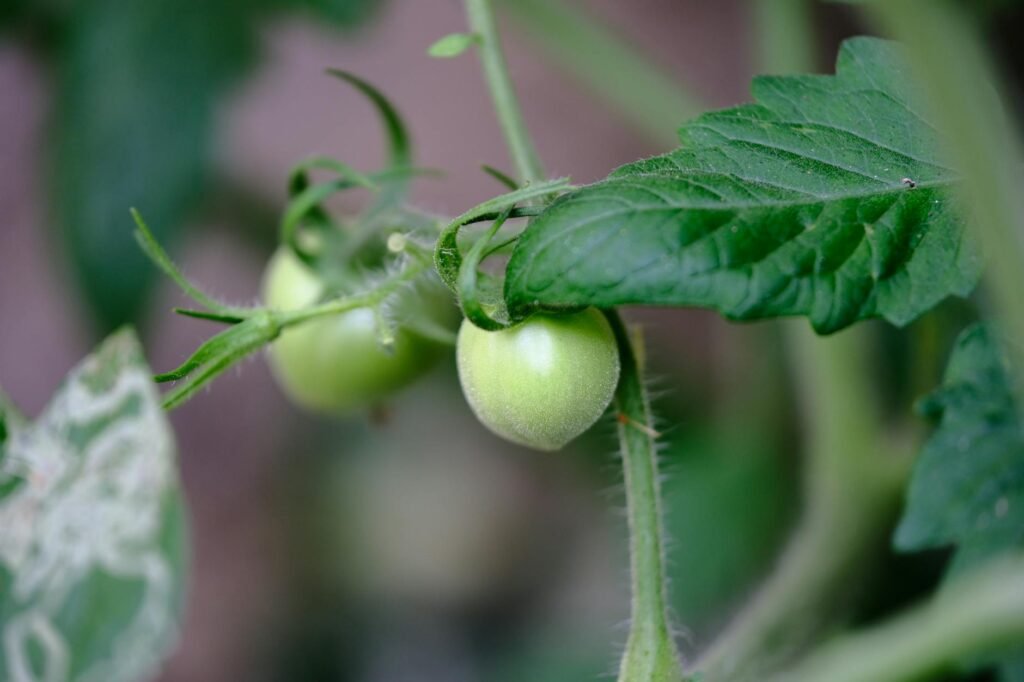
As summer rolls in, you’ll notice your hard work beginning to pay off. The fruits will start to swell and change color, ranging from vibrant reds to sunny yellows, depending on the variety you’ve chosen. But how do you know when it’s the right time to harvest? The truth is, tomatoes are best picked when they are fully ripe. Look for a deep color and a slight give when you gently squeeze them.
It’s easy to get excited and pick them too early, but doing so may affect the flavor. Remember, tomatoes continue to ripen off the vine, so if you’re concerned about pests or inclement weather, you can pick them just shy of their peak ripeness and let them finish on your kitchen counter. How satisfying it is to know that you’ve nurtured something from seed all the way to your dinner plate!
Common Challenges and Solutions
Despite your best efforts, you might encounter some hurdles along the way. Pests such as aphids and tomato hornworms can wreak havoc on your prized plants. The good news is that there are organic solutions available. For instance, hand-picking pests or using insecticidal soap can be effective. You can also introduce beneficial insects like ladybugs to your garden, which can help control pest populations naturally.
Additionally, keep an eye out for diseases such as blight or blossom end rot. These common issues can often be prevented with proper watering practices and crop rotation. If you notice any signs of disease, act quickly by removing affected leaves or using disease-resistant tomato varieties as a proactive measure. Gardening is a learning journey, and adapting your approach based on experiences will make you a better gardener!
As you can see, growing tomatoes from seed to harvest is not just about planting and watering; it’s a multifaceted process that requires attention to detail and a bit of patience. Are you ready to embark on this rewarding gardening journey? Share your experiences, ask questions, or comment below about your favorite tomato varieties!